


Hood protection film is an automotive product that shields engine bays from debris and enhances aesthetics with a glossy finish, outperforming traditional paints. Installation requires thorough pre-prep, including cleaning and damage repair. The process involves washing the car, applying the film sectionally, and trimming excess for a professional look, offering both style and protection at a lower cost than ceramic coatings or vinyl wraps.
Before you install a hood protection film, ensure your vehicle is ready for optimal results. This guide covers everything from understanding the benefits of hood protection film and its impact on your car’s exterior, to a comprehensive pre-installation preparation checklist. We’ll walk you through each step, providing tips and tricks to guarantee a seamless application process. Discover how this simple yet powerful addition can protect your vehicle from scratches, chips, and more.
- Understanding Hood Protection Film and Its Benefits
- Pre-Installation Preparation Checklist for Optimal Results
- Step-by-Step Guide to Installing Hood Protection Film
Understanding Hood Protection Film and Its Benefits

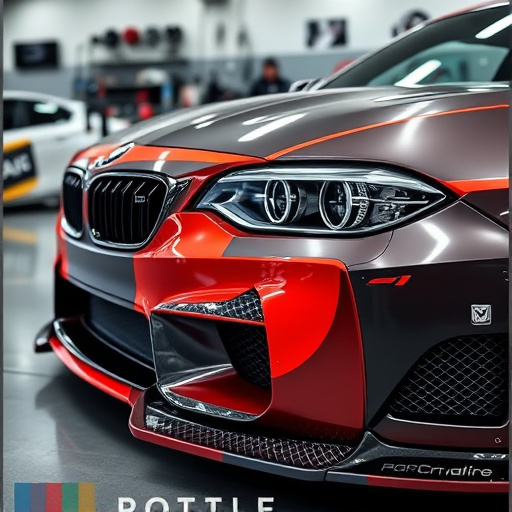
Hood protection film is a specialized automotive product designed to safeguard your vehicle’s engine bay from damage caused by debris, bugs, and minor impacts. This innovative solution is typically made from durable, scratch-resistant materials that offer superior protection compared to traditional paints or clear coats. By applying hood protection film, you’re essentially creating an extra layer of defense for your car’s most vulnerable area.
Beyond its protective qualities, hood protection film offers aesthetic advantages as well. It can enhance the overall look of your vehicle by providing a sleek, glossy finish that complements various styling themes. Many films are designed to be scratch-resistant and easy to clean, ensuring your engine bay stays looking pristine. Moreover, compared to other options like ceramic coatings or vinyl wraps, hood protection film is more cost-effective while still delivering outstanding performance, making it a popular choice for car enthusiasts seeking both style and substance.
Pre-Installation Preparation Checklist for Optimal Results
Before installing a hood protection film, it’s crucial to complete a thorough pre-installation preparation checklist for optimal results. Start by thoroughly cleaning your vehicle’s hood to ensure no dirt, dust, or debris will interfere with the adhesion of the film. Use a dedicated car shampoo and microfiber cloths for this step; you want to achieve a streak-free, dust-free surface. Next, inspect the hood for any existing damage or imperfections that could affect the film’s application or performance. Repair any dents or cracks using suitable automotive repair kits.
Additionally, consider the environmental conditions where you’ll be applying the hood protection film. Extreme temperatures and direct sunlight can impact the installation process and the long-term effectiveness of the product. If possible, choose a shaded area for installation, and ensure the surface temperature is within the manufacturer’s recommended range. Lastly, gather all necessary tools and materials, including the hood protection film, applicator tools, and any additional products like a ceramic coating or heat rejection films, to enhance your vehicle’s appearance and protect it from various elements.
Step-by-Step Guide to Installing Hood Protection Film
Installing a hood protection film is a straightforward process that can significantly enhance your vehicle’s aesthetics and protect its finish. Here’s a step-by-step guide to help you through the process:
1. Prepare Your Vehicle: Start by washing and drying your car thoroughly. Ensure there’s no dirt, dust, or residue on the hood to achieve optimal adhesion for the film. A clean surface is crucial for long-lasting results, especially when considering ceramic window tinting or paint protection films as well.
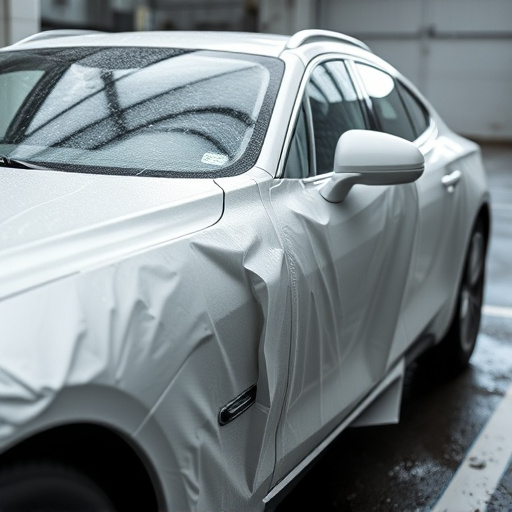
2. Apply the Hood Protection Film: Remove the protective backing from the film and line up the first section with your car’s hood. Using a squeegee or applicator tool, firmly press the film onto the surface, starting from one edge and working your way across. Ensure there are no bubbles or wrinkles as you go. For tricky areas, use a heat gun on low temperature to gently smooth out any imperfections. Once complete, trim excess film with a sharp pair of scissors or a cutter designed for automotive applications.
Before installing your hood protection film, ensure a thorough preparation process to achieve optimal results. By following this guide’s checklist and step-by-step instructions, you’ll be well on your way to safeguarding your vehicle’s engine bay with the innovative benefits of hood protection film. This simple yet powerful solution can enhance your car’s aesthetics, protect against stone chips and road debris, and even reduce potential repair costs. So, get ready to transform your vehicle with this game-changing automotive accessory!